Introduction
Looking for the complete AI content creation framework? This guide focuses on post-production and editing workflows. For the broader overview, see AI Content Creation: Complete Guide 2026.

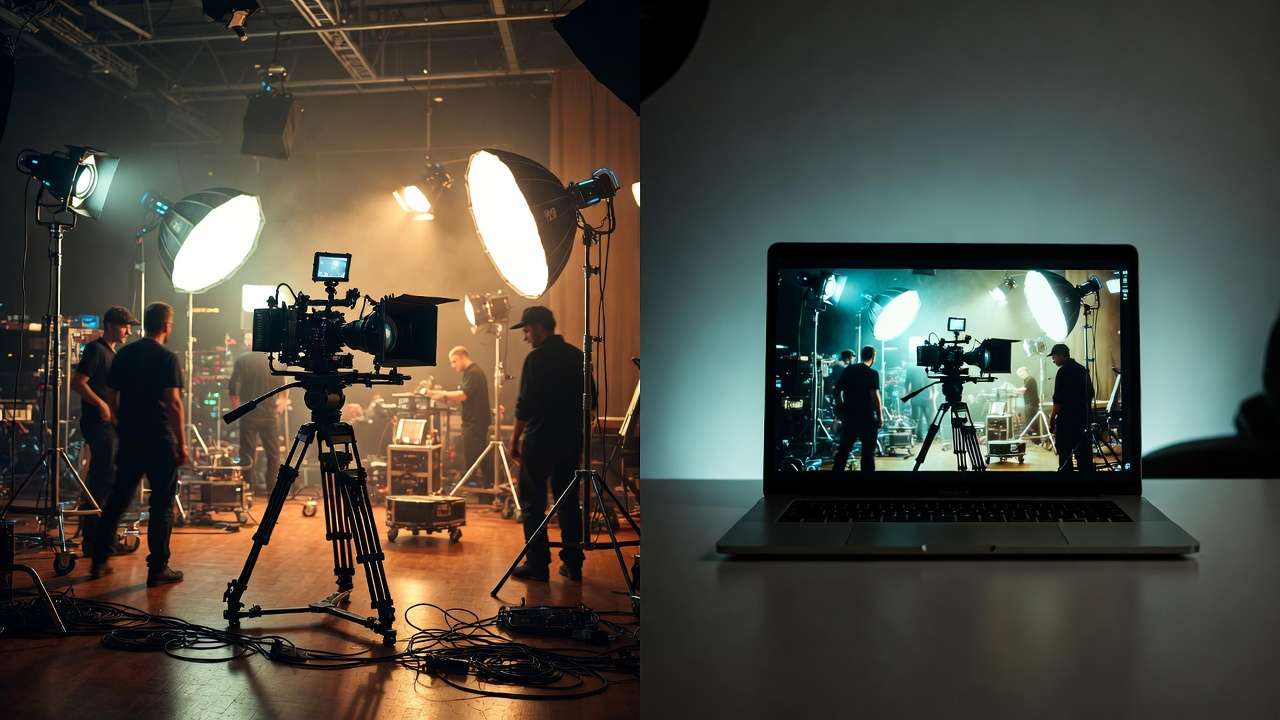
Raw AI-generated video is not finished content. This is the most important sentence in this guide, and the one that separates amateur AI creators from professionals who deliver broadcast-quality, client-ready work.
Every AI video model - Veo 3.1, Sora 2, Kling 2.6, Runway Gen4 - in an AI Video Generator produces output that benefits from post-production refinement. Native generation resolution caps at 1080p for most models. Color science varies wildly between models, producing inconsistent looks when you mix outputs in a single project. Motion artifacts, temporal inconsistencies, and edge softening are present in even the best generations. Without post-production from capable ai video editors, your content carries the telltale markers of unpolished AI output.
The AI post-production pipeline in 2026 has matured into a systematic discipline. Upscaling models - built on the same ai upscale image technology that enhanced still photos - push 1080p generations to crisp 4K and beyond. Any ai video editor with color grading tools applies cinematic look development in seconds rather than the hours a professional colorist spends. Style transfer models can harmonize the visual language of clips generated by different models into a cohesive aesthetic. And chaining workflows - where the output of one AI step feeds directly into the next - enable production pipelines that were impossible to automate even two years ago.
This guide covers every stage of AI post-production: resolution enhancement, ai video editing software workflows, color grading, style transfer, motion refinement, frame rate optimization, audio-visual synchronization, and the multi-step pipelines that professional creators use to transform raw AI output into finished, polished, commercially viable content. Whether you are finishing a single hero video or processing hundreds of clips for a client campaign, these workflows apply at any scale. Platforms like Cliprise centralize access to generation models, ai image editor tools, upscaling, and editing models under one interface, making the entire post-production chain accessible without juggling multiple applications.
Why Post-Production Is Non-Negotiable for AI Video
The Quality Gap Between Raw and Finished
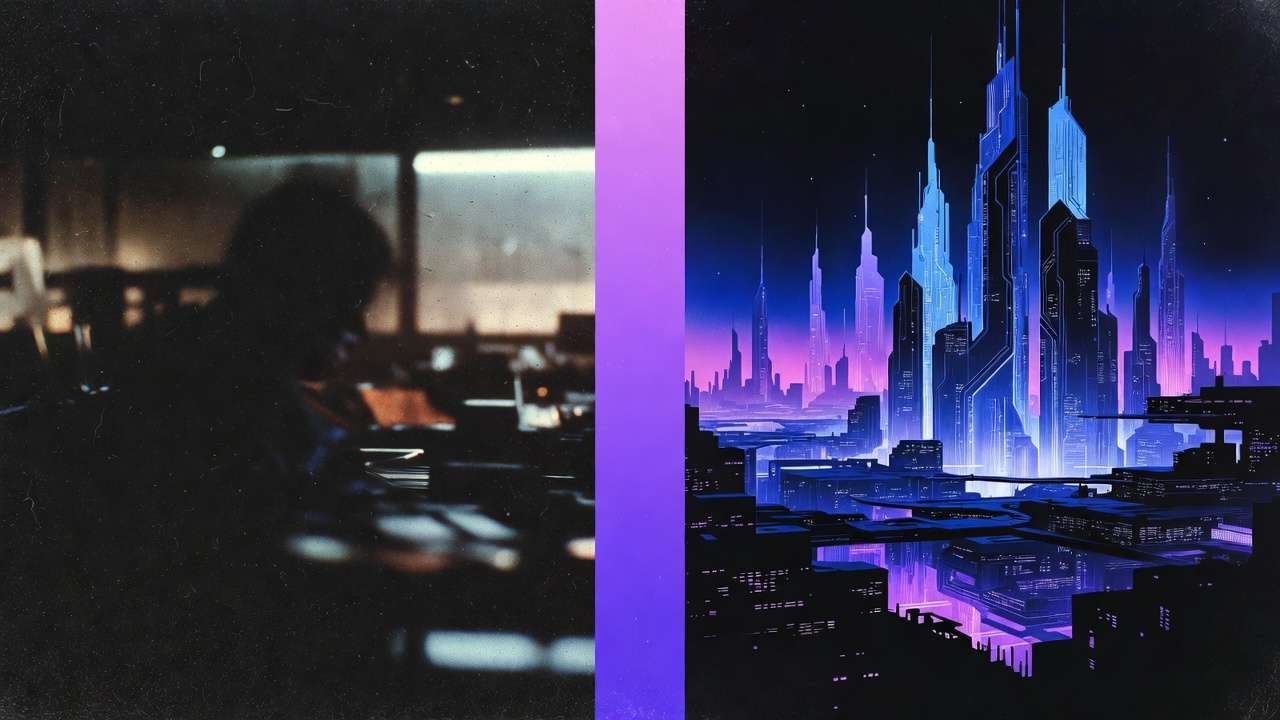
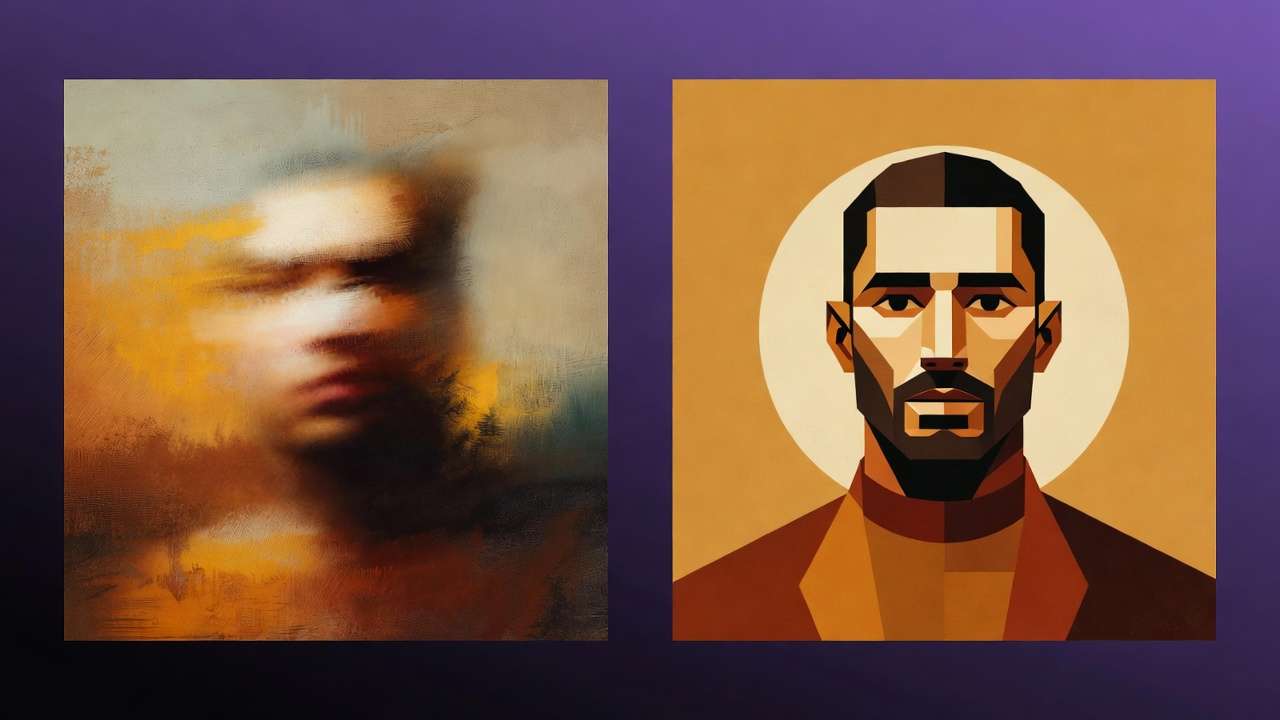
Side-by-side comparisons reveal stark differences. Raw AI video at native resolution shows soft edges, subtle temporal flicker, and color values that shift between frames. The same clip run through an ai photo editor for upscaling, color grading, and stabilization looks like it came from a professional camera. Audiences cannot always articulate what is wrong with unpolished AI video, but they can feel it - and that feeling translates to lower engagement, shorter watch times, and reduced trust.
Professional creators who ai edit photo and video report that post-production adds 30 to 50% to perceived production value while adding only 10 to 15% to total production time. The return on investment is asymmetric: a small time investment in polishing yields a disproportionate quality improvement.
Multi-Model Projects Demand Consistency
Modern AI video production frequently combines outputs from multiple models. A project might use Veo 3.1 for establishing shots (cinematic quality, realistic physics), Kling 2.6 for product demonstrations (precise motion control), and Sora 2 for narrative sequences (strong temporal coherence). Each model produces distinct color profiles, contrast curves, and motion characteristics.
Without post-production harmonization, cutting between these clips produces jarring visual discontinuity - the viewer subconsciously registers that something is "off" even if they cannot identify what. Color grading, resolution normalization, and style matching solve this, producing sequences where the model boundaries become invisible.
Platform Requirements Are Increasing
YouTube now favors 4K content in its recommendation algorithm. TikTok's new "HD" badge rewards high-resolution uploads. Instagram's quality compression is kinder to higher-resolution source material. The platforms are sending a clear signal: higher quality inputs get better distribution. Since most AI models max out at 1080p, upscaling to 4K is not a luxury - it is a distribution requirement for maximum reach.
Resolution Enhancement: Upscaling AI Video to 4K and Beyond
Understanding AI Upscaling
AI upscaling is not simple interpolation - it is not just "making the image bigger." Modern upscaling models (Real-ESRGAN, Topaz Video AI, built-in platform upscalers) use neural networks trained on millions of image pairs to intelligently reconstruct detail that does not exist in the source material. They add texture, sharpen edges, and enhance fine detail in ways that pixel-doubling cannot achieve.
The difference is dramatic. A 1080p AI-generated landscape upscaled with basic bicubic interpolation looks soft and pixelated at 4K. The same frame upscaled with a neural model shows leaf detail on trees, texture in stone surfaces, and fabric weave in clothing that was not visible in the original. The model hallucinated that detail, but it hallucinated it convincingly and consistently.
When to Upscale (and When Not To)
Always upscale for:
- YouTube long-form content (4K preference in algorithm)
- Client deliverables where resolution is specified
- Print applications (poster, packaging)
- Portfolio pieces and demo reels
- Large-screen presentations
Skip upscaling for:
- TikTok and Instagram Stories (compressed heavily regardless)
- Quick social media tests and A/B variants
- Internal review drafts
- Low-priority filler content
The decision is economic: upscaling costs credits and time. For hero content, the quality improvement justifies the cost. For high-volume social content consumed at phone resolution, the improvement is invisible to the audience. The complete upscaling workflow is detailed in AI Image Upscaling: 4K to 8K Quality Enhancement.
The Upscaling Pipeline
Step 1: Generate at maximum native resolution. Always generate at the highest resolution your model supports. Starting with a cleaner source makes upscaling more effective. A 1080p source upscales better than a 720p source - the upscaling model has more information to work with.
Step 2: Select your upscale target. 2x upscale (1080p to 4K) is the sweet spot for most use cases. 4x upscale (1080p to 8K) is available but introduces more hallucinated detail that may not match the generation's original aesthetic. Use 4x only for print or large-screen applications.
Step 3: Choose your upscaling model. Platform-integrated upscalers (available through Cliprise) offer convenience - the upscaling happens within the same interface as generation. Dedicated tools like Topaz Video AI offer more parameter control for advanced users.
Step 4: Review the result. Check for upscaling artifacts: over-sharpening (halos around edges), texture inconsistency (some areas gain detail while others remain soft), and temporal flicker (frame-to-frame brightness variations in video). Minor artifacts are normal; significant ones require re-upscaling with different settings.
For the complete polishing workflow from generation through final delivery, see Upscaling and Polishing: From Good to Perfect.
Color Grading: Giving AI Video a Cinematic Look
Why AI Video Needs Color Grading
AI models generate video with "neutral" or "default" color science - functional but unexciting. Professional content uses color to evoke emotion, establish mood, and create visual identity. A warm, golden-hour grade signals luxury and aspiration. Cool, desaturated tones convey drama and seriousness. High-contrast, punchy grades signal energy and youth. Without deliberate color grading, AI video looks "flat" - technically competent but emotionally empty.
The complete science of AI video color grading, including LUT application, node-based grading, and model-specific color correction, is in Color Grading AI Videos: Cinematic Look Development.
Model-Specific Color Correction
Different AI models produce different color profiles, and understanding these defaults is essential for efficient grading:
| Model | Default Color Character | Typical Correction Needed |
|---|---|---|
| Veo 3.1 | Slightly warm, natural | Minimal - closest to camera-grade color |
| Sora 2 | Cool-neutral, slightly flat | Add warmth and contrast |
| Kling 2.6 | Saturated, punchy | Pull back saturation, refine skin tones |
| Runway Gen4 | Neutral-warm, cinematic | Subtle refinement usually sufficient |
| Hailuo 02 | Slightly cool, stylized | Color temperature adjustment |
| Wan 2.5 | Variable by style prompt | Depends on generation style |
Matching colors across models: When editing a sequence that combines clips from different models, grade each model's clips to a common target. The most efficient approach: pick your best-looking clip as the "reference," then grade all other clips to match. This is faster and more accurate than trying to grade every clip to an abstract ideal.
LUT-Based Grading for Efficiency
Look-Up Tables (LUTs) apply predetermined color transformations instantly. Professional colorists create LUTs that represent specific "looks" - film emulation, brand color profiles, genre-specific aesthetics. Applying a LUT to AI video is the fastest path from flat to cinematic.
Recommended LUT workflow for AI video:
- Apply a base correction LUT to normalize the color science of your source model
- Apply a creative LUT for your desired mood or brand aesthetic
- Fine-tune exposure, white balance, and saturation manually
- Apply consistent adjustments across all clips in the project
This three-step approach (correct, create, refine) produces professional color grades in minutes rather than hours.
Style Transfer: Harmonizing Visual Language
What Style Transfer Does for AI Video
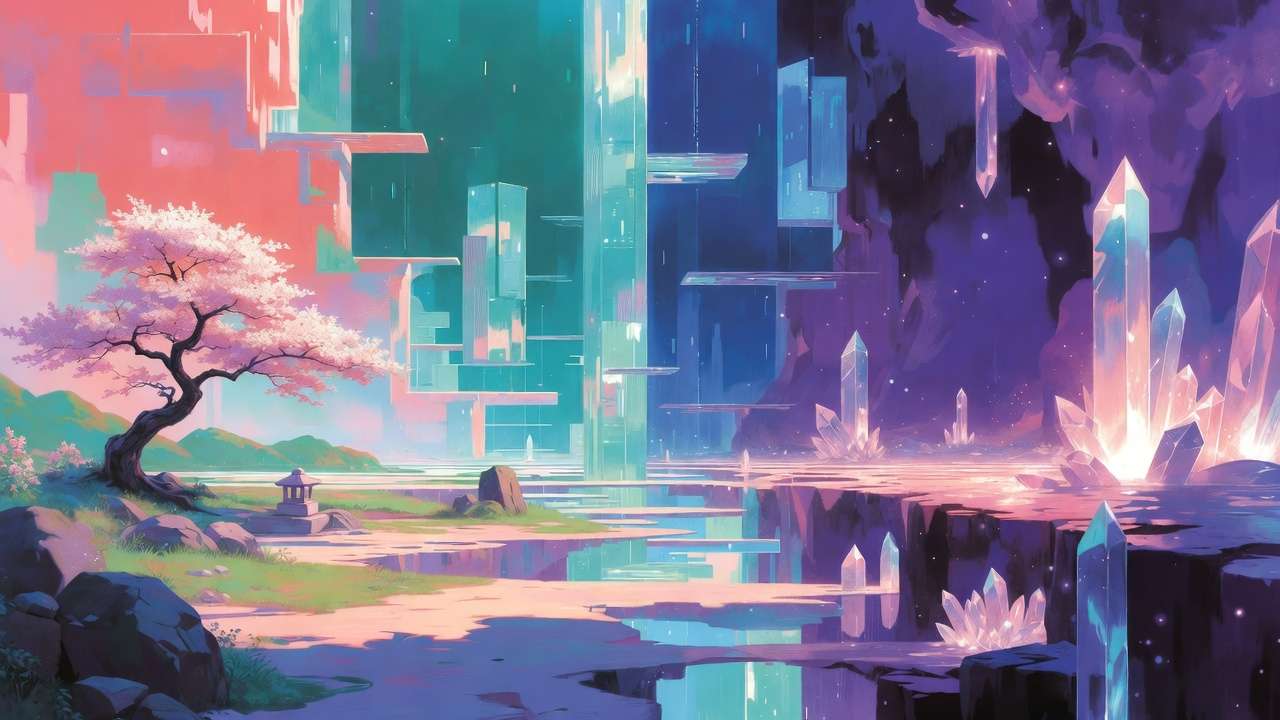
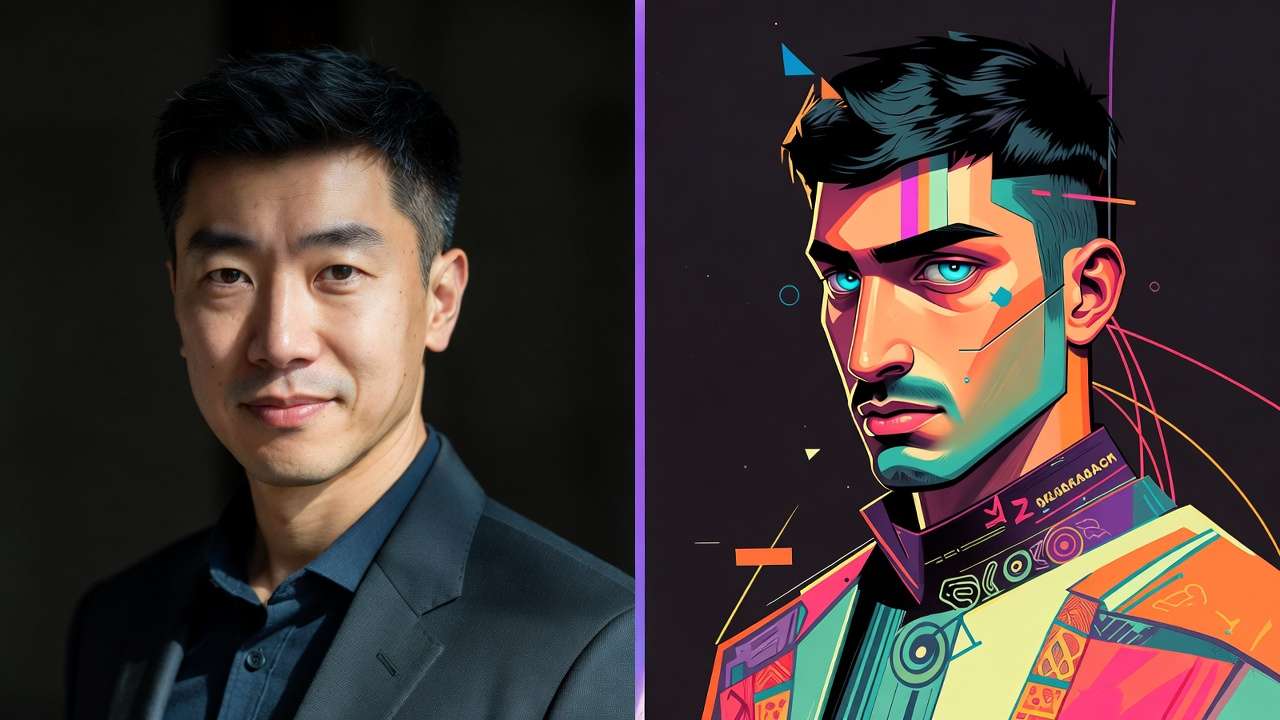
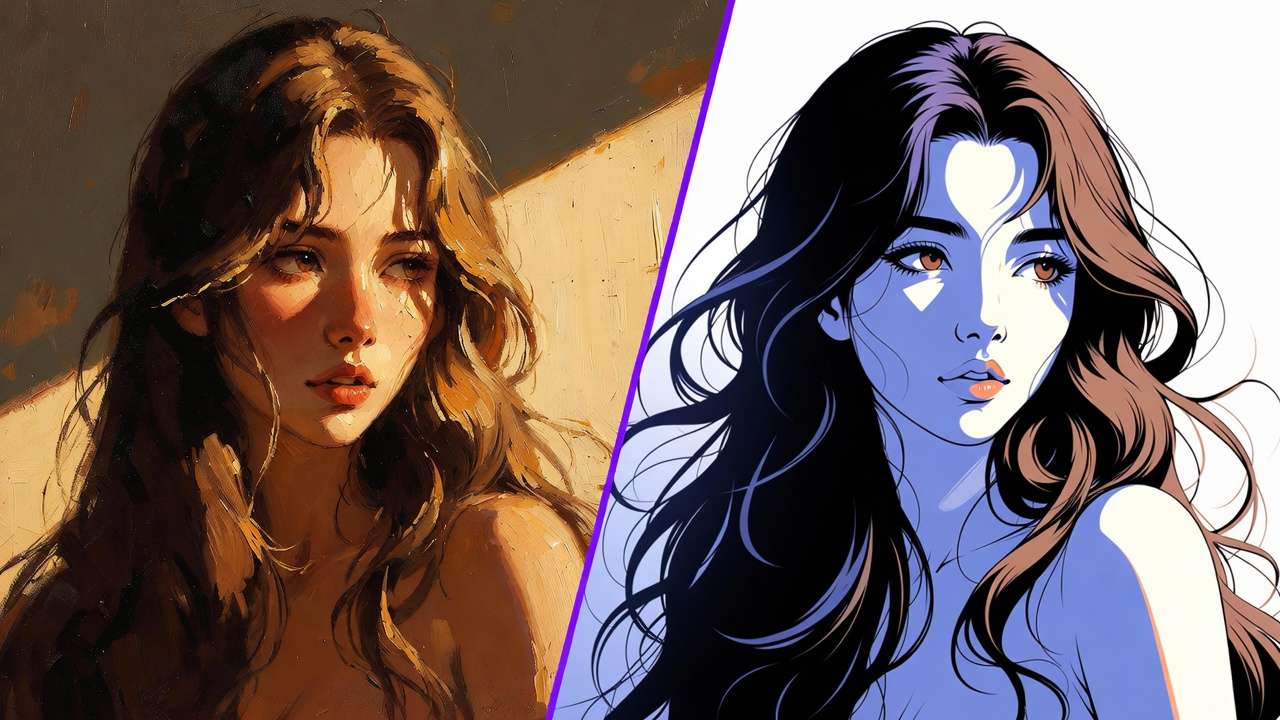
Style transfer applies the visual characteristics of a reference - a painting, a photograph, a film still, or any visual style - to your AI-generated content. It is the most powerful tool for creating a cohesive visual identity across content that was generated by different models, at different times, or with different prompts.
The technology has evolved significantly. Earlier style transfer tools produced painterly, obviously-processed results. Modern approaches (like those detailed in Style Transfer Tutorial) maintain the structural integrity of the source while transferring only the aesthetic qualities - color palette, texture treatment, contrast handling, and lighting character.
Practical Applications
Brand consistency: Apply your brand's visual style to every piece of AI content, regardless of which model generated it. This is especially valuable for agencies managing multiple client campaigns.
Period and genre aesthetics: Make AI video look like it belongs in a specific cinematic universe - 1970s film grain, 1990s VHS texture, modern clean digital, anime, watercolor, or any visual language.
Cross-model harmonization: The most practical use case. When a project uses clips from Veo 3.1, Kling 2.6, and Sora 2, style transfer can make them visually indistinguishable. Apply a unifying style reference, and the model-specific visual fingerprints disappear.
The Video-to-Video Style Transfer Guide covers the technical implementation in detail.
Motion Refinement and Camera Control
Fixing Motion Artifacts
AI video models produce motion that is "almost right" - fluid and natural in most frames, but with occasional artifacts: objects that slide instead of move naturally, camera movements that have micro-stutters, physics that breaks for a frame or two. Post-production motion refinement addresses these issues.
Temporal smoothing reduces frame-to-frame jitter in camera movement. Applied judiciously, it makes AI camera movements feel like they came from a stabilized gimbal rather than a neural network.
Speed ramping can hide problematic frames by accelerating through them. A two-frame physics glitch becomes invisible when the clip is speed-ramped to 2x at that moment, then eased back to 1x.
Strategic trimming is the simplest and most effective motion fix: if the first or last 10 to 20 frames of a generation contain artifacts (common with many models), trim them. Most 5-second generations have 3 to 4 seconds of clean footage in the middle.
Camera Angle and Motion Control
Motion control mastery starts in the prompt engineering phase but often needs refinement in post. When your prompt specified "slow dolly forward" but the model produced a "moderate push-in with slight pan," post-production speed adjustment and crop animation can correct the camera motion to match your original vision.
Understanding frame rates is critical for motion work. 24fps delivers cinematic motion blur. 30fps provides smooth broadcast-quality motion. 60fps creates ultra-smooth content for sports and gaming contexts. AI models generate at varying frame rates, and conforming them to your target frame rate in post-production ensures consistent motion character across your project.
The Complete Post-Production Pipeline
Stage 1: Assessment and Organization
Before touching any clips, organize your raw generations:
- Review all clips and tag them: approved, needs work, rejected
- Note model origin for each clip (this informs color correction)
- Identify the weakest element in each clip (resolution, color, motion, artifacts)
- Plan your processing order: upscale first, then color, then style - or adjust based on which element needs the most work
Stage 2: Resolution Enhancement
Process all clips through upscaling before color or style work. Upscaling on a color-graded clip can amplify color artifacts, while upscaling the neutral source preserves maximum flexibility for subsequent grading.
For image-to-video workflows, upscale the source image first if possible - starting with a higher-quality input produces better video output. This "upscale-then-animate" approach consistently outperforms "animate-then-upscale," as documented in From Image to Motion.
Stage 3: Color Grading
Apply color correction (technical neutralization) first, then creative grading (mood and style). This two-pass approach ensures that your creative decisions are built on a neutral foundation rather than fighting against model-specific color biases.
For multi-model projects, this stage is where you harmonize the look across all sources. Grade to a consistent color space before applying creative LUTs.
Stage 4: Style Transfer (If Applicable)
Apply style transfer after color grading if you want the style to influence both color and texture. Apply it before color grading if you want to grade the stylized result. The order depends on your creative intent.
Not every project needs style transfer. If all clips come from the same model with consistent prompting, color grading alone may be sufficient for cohesion.
Stage 5: Motion and Timing
Trim, speed-ramp, and stabilize clips as needed. This is also where you set duration for your target platform: 5-second loops for product carousels, 10-second clips for social feeds, 15-second sequences for hero content.
Resolution considerations factor in here: if you are cropping or repositioning clips, ensure your resolution budget can absorb the crop without dropping below your delivery resolution.
Stage 6: Final Assembly and Export
Combine processed clips into your final sequence. Add transitions (keep them subtle - hard cuts and simple dissolves respect the AI content rather than competing with it). Apply final adjustments: overall grade tweaks, audio sync, text overlays.
Create a protected master, then make destination-specific delivery copies instead of repeatedly compressing the last export. The AI video export settings checklist covers aspect ratio, resolution, frame rate, audio, captions, artifact review, and test uploads.
Chaining Workflows: Multi-Step AI Pipelines
The Power of Sequential Processing
The most sophisticated AI post-production workflows chain multiple AI steps in sequence, where the output of one step becomes the input for the next. This is not just a convenience - it is a creative methodology that produces results no single model can achieve alone.
The complete chaining methodology is detailed in How to Chain Image, Video, and Upscaling in One Workflow, but here are the core patterns:
Pattern 1: Generate, Extend, Upscale Text prompt to Flux 2 Pro image to Veo 3.1 video to 4K upscale. This three-step chain produces broadcast-quality video from a text description. Total processing time: 2 to 5 minutes. Total cost: $2 to $5 in credits.
Pattern 2: Generate, Multiply, Select One image to multiple video variations via different models (Veo, Kling, Sora, Wan). Compare outputs, select the best, polish the winner. This pattern maximizes creative options while controlling costs.
Pattern 3: Generate, Edit, Regenerate Generate a first-pass video. Use editing models (Qwen Edit, Recraft) to modify specific elements. Regenerate with the edited frame as the new input. This iterative refinement produces precisely controlled outputs that match your creative vision.
Pattern 4: Style, Upscale, Grade Apply style transfer to raw generation. Upscale the stylized result. Color grade the final output. This sequence preserves style transfer quality through the upscaling step.
Automation and Batch Processing
For high-volume projects (product catalogs, ad creative variants, social media content libraries), manual processing of each clip is impractical. Batch processing applies the same post-production pipeline to multiple clips simultaneously.
Multi-model platforms increasingly support batch operations: upscale 50 images in one queue, apply the same style transfer to 20 video clips, or color grade a batch of generations to a consistent LUT. The API integration guide covers programmatic automation for enterprise-scale workflows.
Model-Specific Post-Production Guides
Veo 3.1 Post-Production
Veo 3.1 produces the cleanest raw output of current video models, requiring the least post-production intervention. Focus areas: minor upscaling (native output is high quality but benefits from 4K bump), subtle color warming (Veo defaults slightly cool), and edge refinement on fast-motion subjects. The Veo 3.1 tutorial covers generation optimization that reduces post-production needs.
Sora 2 Post-Production
Sora 2 excels at narrative coherence but can produce slightly flat color. Post-production priority: contrast enhancement and color grading. The Mastering Sora 2 guide covers generation strategies that minimize post-production requirements.
Runway Gen4 Post-Production
Runway Gen4 produces output with strong cinematic sensibility but occasionally introduces subtle banding in gradient areas (sky, smooth surfaces). Post-production focus: debanding, resolution enhancement, and slight sharpening. The Runway Gen4 Turbo Tutorial covers the complete generation-to-delivery pipeline.
Kling 2.6 Post-Production
Kling 2.6 produces dynamic motion but with slightly oversaturated color. Post-production priority: saturation reduction (5 to 15%), color temperature correction, and temporal smoothing on camera movements. When working with Kling output in multi-model projects, color matching requires the most attention.
Common Post-Production Mistakes
1. Over-sharpening upscaled content. Upscaling models already add sharpening. Applying additional sharpening in post creates "crunchy" edges and halos that look worse than the soft original. Use the upscaler's output at default settings; add sharpening only if genuinely needed.
2. Ignoring temporal consistency in color grading. Frame-by-frame color variation is AI video's most common artifact. When grading, check that your adjustments do not amplify these variations. Temporal color smoothing (available in most color grading tools) should be applied before creative grading.
3. Applying desktop post-production thinking to social content. A meticulously color-graded, 4K upscaled, stabilized clip looks identical to a raw 1080p generation when viewed on a phone at Instagram's compressed quality. Match your post-production effort to your distribution channel.
4. Using the same post-production settings for all models. Each model has different characteristics. A preset that works perfectly for Veo 3.1 output may over-process Kling 2.6 or under-correct Sora 2. Build model-specific post-production presets and apply them accordingly.
5. Post-producing bad generations instead of regenerating. If a clip has fundamental issues - wrong subject, bad composition, major physics errors - no amount of post-production will fix it. Regenerate with a better prompt. Post-production enhances good content; it cannot rescue bad content.
6. Skipping quality comparison. Always compare your post-produced output against the original. The purpose of post-production is improvement. If your processed version does not clearly look better than the raw generation, you are adding complexity without value.
Cost Analysis: Post-Production Impact
| Post-Production Step | Typical Credit Cost | Time Added | Quality Impact |
|---|---|---|---|
| 2x Upscale (1080p to 4K) | $0.50 - $2.00 | 30-60 seconds | High |
| Color grading (LUT-based) | Free (manual) | 2-5 minutes | High |
| Style transfer | $1.00 - $3.00 | 30-90 seconds | Medium-High |
| Frame rate conversion | Free (manual) | 1-2 minutes | Medium |
| Temporal stabilization | Free (manual) | 1-3 minutes | Medium |
| Full pipeline (all steps) | $1.50 - $5.00 | 5-15 minutes | Very High |
Note: "Free (manual)" steps use editing software you already have (DaVinci Resolve, Premiere, CapCut). Credit costs are for AI-powered processing through multi-model platforms.
The total cost of comprehensive post-production is typically 20 to 40% of the generation cost. For a $5 video generation, post-production adds $1 to $2 - a trivial investment for a meaningful quality improvement.
The Future of AI Post-Production
Real-time post-production is becoming embedded in the generation pipeline. Future models will apply upscaling, color grading, and style transfer during generation rather than as separate steps. You will specify "cinematic warm grade, 4K output, Film grain texture" in your generation prompt, and the model will deliver finished output.
Intelligent auto-grading will analyze your brand's existing content and automatically apply matching color and style parameters to new AI generations. Upload your brand guide once; every subsequent generation comes pre-graded to match.
Cross-clip consistency models will analyze an entire project's worth of clips and automatically harmonize color, motion character, and visual style across all of them - regardless of which models generated them or when they were created.
Audio-aware post-production will adjust visual processing based on audio content. Musical peaks will trigger visual intensity increases. Spoken words will stabilize the frame for readability. The post-production pipeline will process audio and video as a unified creative element.
The trajectory is toward invisible post-production - where the gap between raw generation and finished content closes to zero. But until we reach that point (and we are not there yet in 2026), the post-production workflows in this guide represent the difference between "AI content" and "professional content that happens to use AI."
Related Articles
- AI Video Generator: Complete Guide 2026 →
- AI Content Creation: Complete Guide 2026
- AI Image Generation: Complete Guide 2026
- AI Video Generation: Complete Guide 2026
- AI Prompt Engineering: Complete Guide 2026
- Mobile AI Content Creation: Complete Guide 2026
- AI for E-commerce: Complete Guide 2026
- AI Social Media Content Creation: Complete Guide 2026
- AI Image Upscaling: 4K to 8K Quality Enhancement
- Color Grading AI Videos: Cinematic Look Development
- Style Transfer Tutorial: Apply Any Art Style
- AI Avatar Video Generator 2026: Complete Guide →
- AI Thumbnail Generator 2026: Complete Guide →
- Luma Modify Guide 2026: Edit Existing Video With AI →