AI Explainer Video Workflow: Script → Voice → Video on Cliprise (2026)
A professionally produced 90-second explainer video used to cost $3,000-15,000 and take 3-6 weeks. The price was mostly agency markup on a workflow that was never as complicated as the invoice suggested: script, voiceover, animation, editing, delivery. Four steps, none of which required the overhead that made traditional production expensive.
Advances in ai video generation have compressed all four steps. The workflow still takes the same four steps. The difference is that each step now takes hours instead of weeks, and the total cost is the price of a monthly subscription rather than a project invoice. This guide walks through the complete workflow - from the first line of script to a delivery-ready video - using the tools available on Cliprise.
What This Workflow Produces
Before the step-by-step, let's be specific about what "AI explainer video" means in this context and what production standard this workflow achieves.
Output spec: 60-120 second video with professional voiceover narration, relevant visual content generated to match the script, synchronized sound design, and delivery-formatted output for web, social, and paid media placements.
Quality standard: Teams that make ai videos with this workflow achieve quality sufficient for: product launch pages, SaaS onboarding, e-commerce product demos, social media advertising, YouTube channel explainers, investor materials, LinkedIn brand content. Not sufficient for: broadcast TV, large-format video display, premium cinema advertising.
Production time: First-time workflow: 4-6 hours. Experienced workflow: 1.5-3 hours.
Total cost per video: $15-80 in generation credits depending on complexity and video length.
The Four Production Stages
The four production stages are:
- Stage 1: Script
- Stage 2: Voiceover
- Stage 3: Visual Generation
- Stage 4: Assembly and Delivery
Each stage has specific tool choices, quality decisions, and common failure points. The stages are sequential but not entirely independent - decisions in the script stage affect visual generation requirements, and voiceover timing affects editing. For audio-specific planning across video, voice, music, and sound effects layers, see the AI video generator with audio guide.
Stage 1: Script - The Foundation Everything Else Depends On
Explainer video scripts have a specific structure that's different from both marketing copy and presentation content. The structure exists because explainer viewers have specific behavior patterns: they arrive with a question or problem, want confirmation that the video addresses it within 10 seconds, will tolerate 60-90 seconds of information if it's relevant and clearly delivered, and need a single clear action at the end.
The Standard Explainer Script Structure
Hook (0-10 seconds): Name the problem, frustration, or situation that the viewer recognizes as their own. Not "Welcome to our product demo." Not "Today we're going to look at." A direct identification of a real pain point that makes the viewer confirm: "yes, that's me."
Example: "Every week, content teams spend 30+ hours on video production. Half of that time is waiting: waiting for the editor, waiting for voiceover, waiting for revisions. There's a faster way."
Bridge (10-20 seconds): Introduce the solution category and position your product/service within it. Don't name the product immediately - establish the approach first. "AI-native video production compresses that 30-hour cycle to under 4 hours. Cliprise puts 47 AI models in one platform - so the generation, the audio, and the assembly all happen in the same place."
Demonstration (20-70 seconds): Show, don't just describe. Each claim in the script should have a corresponding visual. "Generate the video in under 60 seconds" - show the generation happening. "Add professional voiceover in your brand voice" - demonstrate the TTS output. This is the most information-dense section and requires precise timing against the visual storyboard.
Social proof (70-80 seconds, optional): A specific, credible data point. Not "thousands of happy customers." A specific: "Teams using Cliprise report 78% reduction in production cost." One specific claim beats a dozen general ones.
CTA (80-90 seconds): Single action. One URL or one instruction. "Start free at cliprise.app." Not a list of options - a single clear next step.
Script Length Calibration
Speaking pace for explainer narration is approximately 130-150 words per minute (slower than conversation, faster than audiobook narration). Use this to estimate:
- 60-second video: 130-150 words
- 90-second video: 195-225 words
- 2-minute video: 260-300 words
Write to the target word count before generating voiceover. Pacing is much harder to fix in post than in the script stage.
Script Formatting for TTS
Scripts going to ElevenLabs TTS need specific formatting adjustments (see ElevenLabs Complete Guide → for full details):
- Short sentences: 15-20 words maximum
- Numbers spelled out: "forty-seven" not "47"
- Punctuation as pacing: commas for micro-pauses, em-dashes for emphasis pauses
- No abbreviations that read oddly when spoken ("AI" at sentence start reads as "Ay Eye" - write "Artificial intelligence" or "AI tools")
- Read the script aloud yourself before generating - anything that sounds awkward spoken needs revision
The Storyboard Note Column
While writing the script, add a second column: the visual for each line. This becomes your generation brief for Stage 3. Example:
| Script | Visual |
|---|---|
| "Every week, content teams spend 30+ hours on video production." | Frustrated person at computer surrounded by multiple screens, overwhelmed expression, clock visible |
| "Cliprise puts 47 AI models in one platform." | Clean UI showing model library, grid of model icons |
| "Generate the video in under 60 seconds." | Screen recording of generation in progress, timer countdown |
This storyboard column ensures that your visual generation brief is directly tied to the spoken content - the most common failure in explainer videos is audio and visual that are loosely related rather than tightly synchronized.
Stage 2: Voiceover - ElevenLabs TTS Production
With a finalized, TTS-formatted script, voiceover production is straightforward. The variables that matter:
Voice Selection Protocol
Test minimum 4-6 voices before committing. Generate the same 3 lines - ideally including the opening hook, a mid-script information-dense section, and the CTA - with each candidate voice. Evaluate:
- Does this voice fit the brand's tone? A startup's explainer has different voice requirements than a financial services firm's.
- Is the pacing natural at your target word-per-minute rate? Some voices rush; some drag.
- Does the voice have authority appropriate to the topic? A medical explainer needs a different voice register than a game app explainer.
Voice selection by content type:
| Content type | Voice character | Pace | Stability |
|---|---|---|---|
| SaaS product demo | Confident, conversational, slightly young | 145 wpm | 0.65 |
| Professional services | Authoritative, measured, warm | 130 wpm | 0.75 |
| E-commerce product | Enthusiastic but genuine, not announcer | 155 wpm | 0.55 |
| Educational | Clear, patient, gender-neutral tone | 125 wpm | 0.80 |
| Social media / Reels | High energy, informal, direct | 165 wpm | 0.45 |
Generation Workflow
Generate the script in paragraph segments rather than the entire script at once. Reasons:
- Selective regeneration. If one section doesn't feel right, you regenerate only that section without redoing the entire recording.
- Quality consistency. Long-form single-pass generation can drift in tone across the recording. Paragraph segments maintain consistency.
- Editorial control. You can mix the best take of each section rather than accepting the entire recording as one unit.
For a 90-second explainer (200 words), generating in 4-5 segments of 40-50 words each is the right granularity.
Keep a generation log: Note the voice name, stability setting, and clarity setting for each segment. If you need to add or revise content later, you need to regenerate in the same voice and settings to maintain consistency.
Quality Check Before Moving to Stage 3
Before generating visuals, listen to the complete assembled voiceover at 100% volume in your expected delivery environment (phone speakers, laptop, earbuds). Check:
- Does every word read clearly?
- Does the pacing match your target word-per-minute rate?
- Does the energy level of the voice match the content at each section?
- Are all brand names, product names, and technical terms pronounced correctly?
Fix issues at this stage. Regenerating a 10-second voiceover segment is fast. Re-editing assembled video because the voiceover doesn't work is significantly slower.

Stage 3: Visual Generation - Matching Images to Script
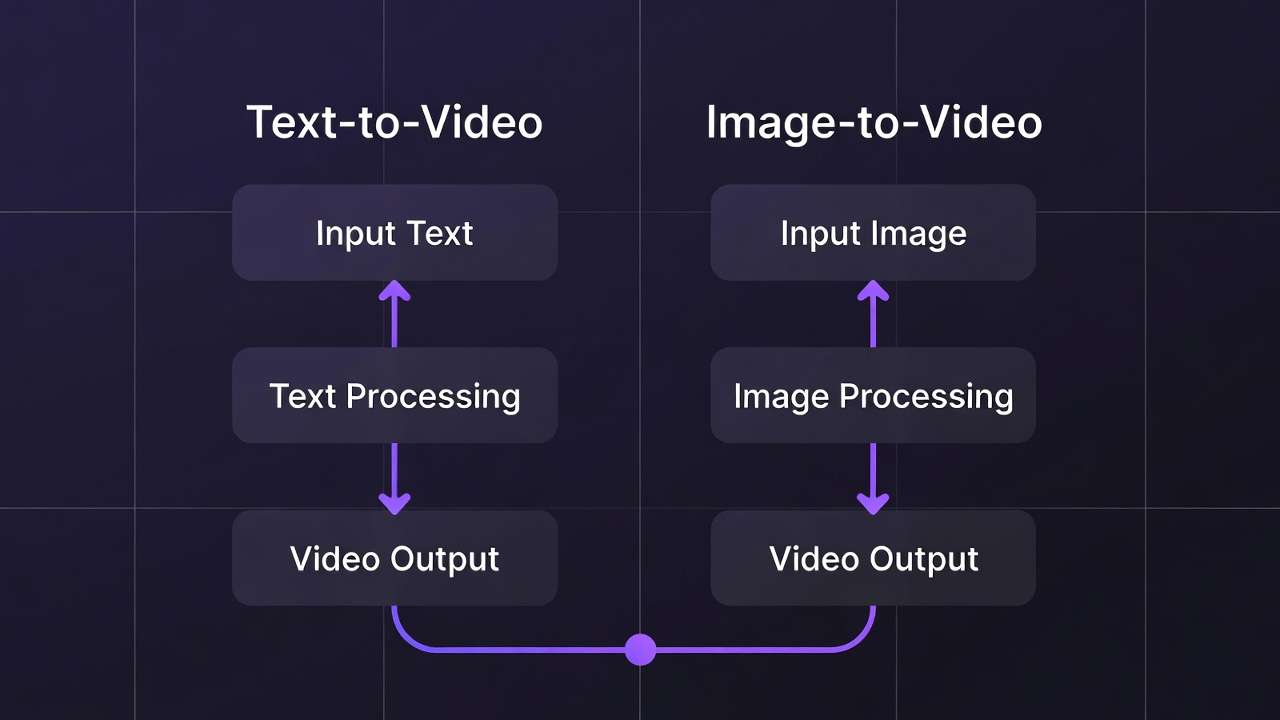
The storyboard note column from Stage 1 becomes your generation queue. Each line of script has an associated visual brief. Using text to video ai tools, your goal is to generate video or images that directly illustrate the spoken content - not adjacent or thematically related, but visually showing what the narration is describing.
Selecting Models for Explainer Visual Content
Different explainer content types suit different generation models:
| Content type | Primary model | Why |
|---|---|---|
| Product demonstration | Kling 3.0 | 4K/60fps, product reference support, smooth motion |
| Human spokesperson / lifestyle | Sora 2 | Cinematic character quality, narrative coherence |
| UI/screen content | Screen recording + Kling | AI generation unreliable for accurate UI representation |
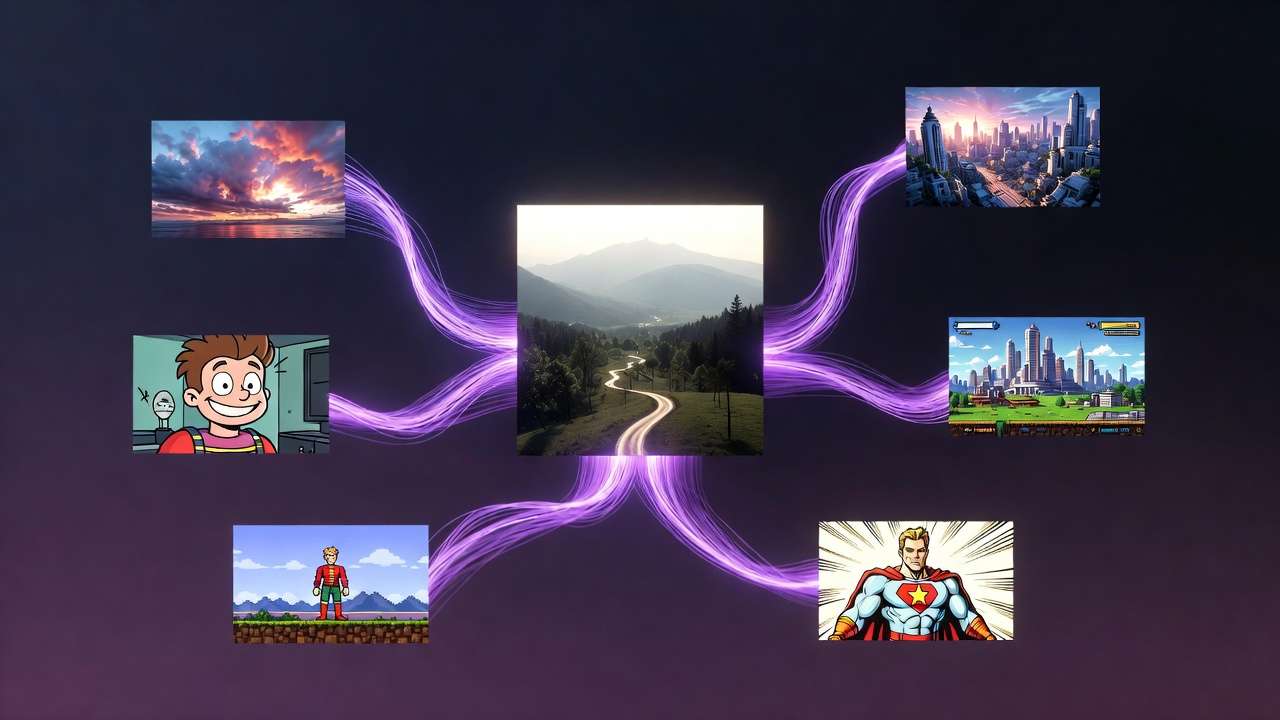
| Abstract concept visualization | Flux 2 or Nano Banana 2 | Creative interpretation, no accuracy requirement |
| Data / chart / stats visual | Nano Banana 2 | Text rendering for labels, world knowledge for context |
| Environmental / setting | Veo 3.1 | Best environmental physics and ambient audio |
| Brand avatar / character | Kling 3.0 or Sora 2 | Character consistency for recurring brand figure |
Timing Your Visual Generations
Each visual segment needs to match the duration of the corresponding voiceover segment. The practical workflow:
- Import your assembled voiceover into your editing software (CapCut works for most explainer formats)
- Note the timestamp of each storyboard segment: "Visual 1: 0:00-0:12, Visual 2: 0:12-0:25" etc.
- Generate video clips at the appropriate duration for each segment
- For segments requiring longer clips than a single generation allows, generate multiple shorter clips and cut between them
Model duration reference:
- Kling 3.0: up to 15 seconds per generation
- Sora 2: up to 20 seconds per generation
- Veo 3.1: up to 20 seconds, 60+ with extension
- Pika 2.5: up to 10 seconds
For a 90-second explainer with 6-8 visual segments averaging 12-15 seconds each, you're generating 6-8 video clips. Budget 45-90 minutes for visual generation including prompt iteration.
Prompt Writing for Explainer Visuals
Explainer visuals have specific requirements that differ from general-purpose AI video:
Clarity over complexity. The visual must immediately communicate its concept to a first-time viewer. Complicated or abstract compositions don't work in explainer format - the viewer has 3-5 seconds with each visual before the narration has moved on.
People doing things, not things existing. "A person clicking a button on a laptop" is more communicative than "a laptop." "A marketing team reviewing campaign results" is more communicative than "an office."
Environment signals context. A product being used in a professional kitchen signals different things than the same product on a kitchen counter at home. Be specific about the environment because it shapes the message.
Prompt template for explainer visuals:
[Who] [doing what specific action] [in what specific environment],
[lighting description], [camera framing], [any relevant detail about
quality or aesthetic]. Clean, professional style.
No text overlays. Clear subject focus.
Example: "A marketing professional reviewing analytics on a laptop in a bright, modern open office. Natural daylight from left. Medium shot, slightly elevated angle. Confident, action-oriented mood. Clean, professional style."
Text-Overlay Visuals (Statistics, Key Points)
For script sections featuring statistics, key claims, or text-based information, generate static images with Nano Banana 2 using its text rendering capability. The text prompt approach:
Clean infographic-style image showing: "[STATISTIC OR CLAIM]"
as the primary text, large and bold. Background: [brand color
gradient or relevant environmental image].
Modern, professional design aesthetic.
The text should be legible at small sizes.
Stage 4: Assembly - Putting It Together in CapCut
CapCut handles the assembly workflow for most explainer formats without requiring professional editing skills. The assembly process:
Import and Arrange
- Create a new project in CapCut at your delivery resolution (1920×1080 for web/YouTube, 9:16 for Reels/TikTok)
- Import all generated video clips in storyboard order
- Import the complete assembled voiceover audio
- Align video clips to the corresponding voiceover sections by listening and adjusting clip length
Audio Layering
Explainer video audio has three layers:
Layer 1 - Voiceover (dominant): The ElevenLabs TTS narration. This is the primary audio signal. Keep it at 0dB (no adjustment from reference).
Layer 2 - Music (supporting): Background music from Suno or a licensed library. Kept at -10dB to -15dB below voiceover so it supports without competing. Fade in at the opening, fade out at the CTA.
Layer 3 - Sound effects (sparse): Generated with ElevenLabs Sound Effect v2 or pulled from a sound library. Applied sparingly at key visual moments - product interaction, transition points, emphasis moments. -6dB to -10dB.
Transitions
Explainer videos benefit from minimal transitions. Hard cuts between visual segments keep pacing tight. Motion transitions (slide, zoom, dissolve) slow pace and suggest uncertainty in the edit. The rule: one transition type, used consistently, never for its own sake.
Best practice: Cut on the beat of the narration's natural pause points. When the narrator pauses between sentences, cut to the next visual. This creates a psychological alignment between what's being said and what's being shown.
Captions
Export the finished video, upload to ElevenLabs Speech-to-Text to generate a timestamped transcript, and import as SRT captions. On CapCut, SRT import creates auto-captions that can be styled with brand fonts and colors.
Captioned explainer videos have meaningfully higher completion rates than uncaptioned - particularly on social platforms where significant viewing occurs on mute or in sound-sensitive environments.

Platform-Specific Delivery Adaptations
A finished 16:9 explainer video can be adapted to multiple platform formats in a single CapCut session:
| Platform | Ratio | Duration | Key adaptation |
|---|---|---|---|
| YouTube | 16:9 | Full length | Master format |
| 16:9 or 1:1 | 60-90 sec | Square crop option | |
| Instagram Feed | 1:1 or 4:5 | 60 sec max | Crop to safe zone |
| Instagram Reels / TikTok | 9:16 | 60 sec max | Vertical reframe |
| Twitter/X | 16:9 | 30-60 sec | Tighten to hook + demo |
CapCut's Auto Reframe feature handles most of the crop and reframe work automatically. For AI-generated video, check the auto-reframe output against the original - generated videos sometimes have important elements at the frame edges that need manual adjustment.
See Aspect Ratio Mastery: Optimize AI Videos for Every Platform →
Full Production Example: SaaS Product Explainer (90 seconds)
To make this concrete, here's the complete production record for a hypothetical 90-second SaaS product explainer:
Total script: 210 words, 4 sections (hook, bridge, demo, CTA)
Voiceover: ElevenLabs TTS, professional male voice, stability 0.68, clarity 0.70. Generated in 4 segments. Total generation time: 8 minutes. 2 segments required a second take.
Visual generation:
- Clip 1 (hook): Frustrated worker at computer. Sora 2, 10 seconds. 2 iterations.
- Clip 2 (bridge): Clean product UI grid. Nano Banana 2 still image + Kling 3.0 pan. 1 iteration each.
- Clip 3 (demo section A): Person generating video, result appearing. Kling 3.0, 12 seconds. 3 iterations.
- Clip 4 (demo section B): Adding voiceover in platform. Sora 2, 8 seconds. 1 iteration.
- Clip 5 (social proof): Statistics graphic with text. Nano Banana 2, still image. 1 iteration.
- Clip 6 (CTA): Clean brand-colored end card with URL. Nano Banana 2. 1 iteration.
Total visual generation time: 65 minutes including iteration.
Sound design: 2 ambient atmospheres (office environment, clean UI sound), 1 hook sound effect. Sound Effect v2. 15 minutes.
Assembly in CapCut: Import, align, layer audio, add captions. 35 minutes.
Total production time: ~2 hours 30 minutes. Total credit cost: ~$45 equivalent.
Note
Build your first AI explainer in under 3 hours. All models in one platform - video generation, ElevenLabs voiceover, sound effects, and upscaling. 10 free credits daily. No credit card required. Start on Cliprise →
Frequently Asked Questions
What type of explainer video does this workflow produce - animation or live action?
This workflow produces realistic live-action style AI video rather than traditional 2D animation. The visual output looks like high-quality stock footage - people in real environments, real-looking products, cinematic scenes - rather than illustrated or cartoon animation. For traditional animation-style explainers, a different workflow using motion graphics tools (After Effects, Vyond) is more appropriate.
Can this workflow produce explainers with screen recording content?
Yes, with a hybrid approach. Generate AI video for the non-screen segments (hook, lifestyle, brand scenes) and use standard screen recording (Loom, QuickTime, OBS) for UI demonstration segments. Combine both types in CapCut during assembly. AI generation is not reliable for accurately representing real software UI.
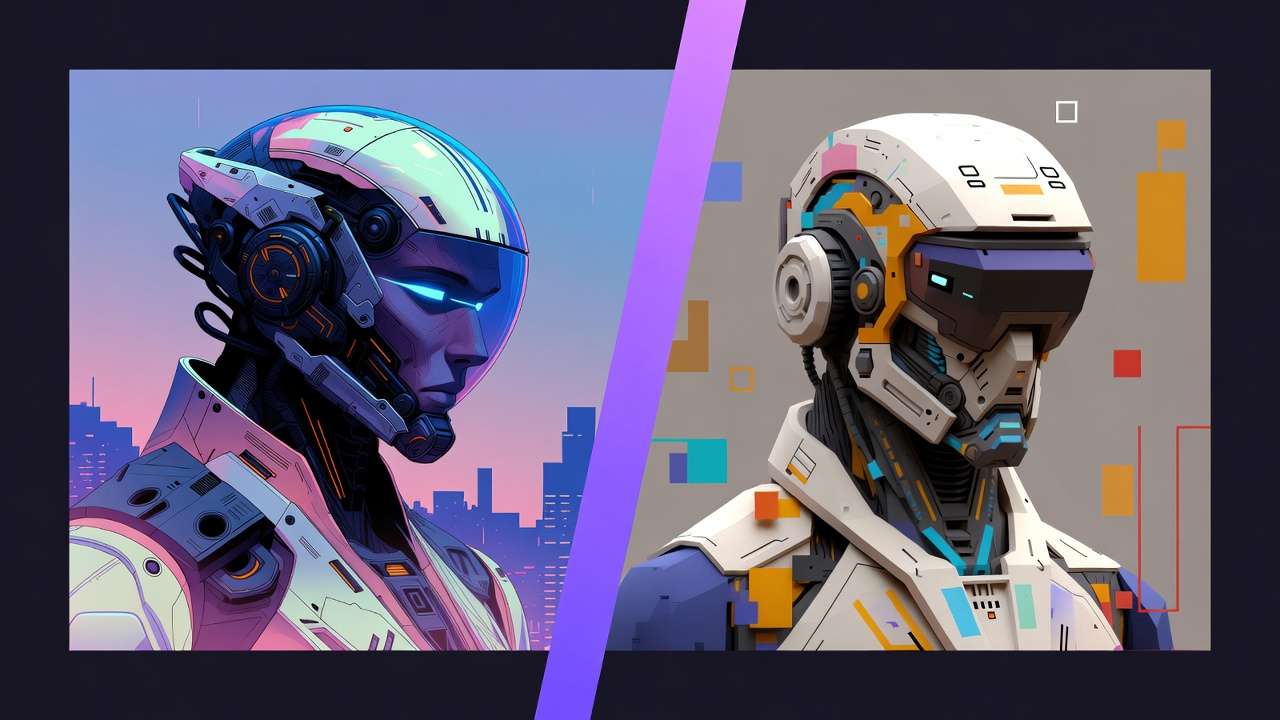
How do I maintain consistent visual style across multiple explainer videos in a series?
Document your generation settings precisely after your first successful video: which model, the exact prompt structure, lighting specifications, and any style references. For character consistency, save the character reference image and always use it as an input reference in subsequent generations. This is the 'prompt library' approach - see the AI video prompt engineering guide for a detailed system.
What's the best music source for explainer videos?
For YouTube-destined content: Suno ($8/month) for AI-generated original music that avoids ContentID claims, or Epidemic Sound ($15/month) for licensed library music. For advertising: Artlist ($199/year) for content cleared for paid media distribution. Do not use Spotify, Apple Music, or unlicensed YouTube audio for commercial video production.
How do I make the AI-generated voice sound less AI-generated?
Several techniques help: (1) Select voices in the 'conversational' category rather than 'narration' - they have more natural patterns. (2) Lower stability to 0.45-0.55 for more expressive variation. (3) Break scripts into shorter sentences - long sentences are where AI voices most obviously sound artificial. (4) Run the output through ElevenLabs Audio Isolation to reduce any electronic artifacts. (5) Test on target audience members - the distinction that trained ears notice often isn't detected by casual viewers.
Related Articles
Audio production:
- ElevenLabs Complete Guide →
- ElevenLabs V3 Text to Dialogue →
- Complete AI Video Production Stack 2026 →
Visual generation for explainers:
Workflow guides:
- AI Video Generator with Audio, Voice and Sound
- AI Video for Marketing →
- How to Chain AI Image → Video → Upscaling →
- Multi-Model Workflows on Cliprise →
- AI Video Ads: Complete Guide →
Platform delivery:
Workflow tested on Cliprise with ElevenLabs TTS, Sora 2, Kling 3.0, Veo 3.1, and Nano Banana 2.