A music video used to require a camera crew, a director, a location, and a budget that starts at $2,000 for anything remotely polished. The result was that most independent artists released their music without one.
AI generation changes this. The complete workflow - performance footage, atmospheric visuals, album art, lyric video, Spotify Canvas - is producible in one session using Cliprise and CapCut.
What You Need Before You Start
- Your finished audio track (WAV preferred, high-quality MP3 acceptable)
- A rough concept for the visual direction - a mood, a color palette, an aesthetic reference
- CapCut installed on phone or desktop (free)
- A portrait image or photo of the artist (for performance footage) - optional but useful
The visual concept does not need to be elaborate. "Dark and atmospheric, deep blues and blacks, urban environment" is a complete enough direction to generate coherent visuals.
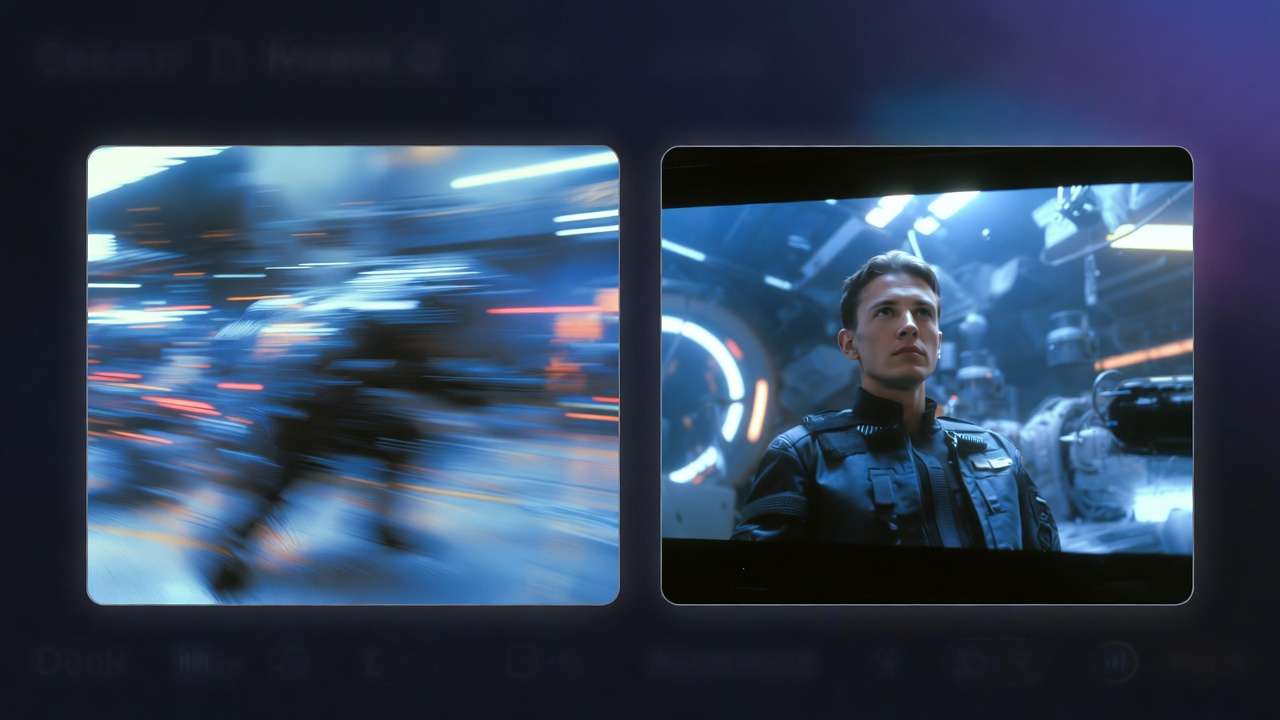
Step 1: Generate Audio-Synced Background Clips with Seedance 2.0
Seedance 2.0's @Audio tag is the starting point for music-appropriate video generation.
In Cliprise Video Gen, select Seedance 2.0 and structure your prompt:
@Audio1: [your track file]

[Scene description that matches your track's mood and visual direction],
responding to the energy and rhythm of @Audio1,
[color palette], [aesthetic: cinematic / atmospheric / abstract / urban],
[camera movement: slow push / static / drifting],
9:16 vertical format for Reels/TikTok or 16:9 for YouTube
Examples by genre:
Electronic / ambient:
@Audio1: [track]
Abstract light particles drifting through dark space,
slow camera drift, deep blues and purples,
atmospheric and hypnotic, responding to @Audio1
Hip-hop / urban:
@Audio1: [track]
Urban street at night, neon reflections on wet pavement,
slow tracking shot along empty street,
high contrast, cinematic, dark warm tones,
responding to the energy of @Audio1
Indie / folk:
@Audio1: [track]
Sunlit forest path in autumn, dappled light through leaves,
slow push forward along the path,
warm earthy tones, gentle and textured,
responding to @Audio1
Generate 5-8 clips covering different sections of the track. Each clip is 5-10 seconds. Seedance generates visuals whose energy tracks your audio - use these as the backbone of your edit.
See AI Lyric Video Workflow: Seedance 2.0 →
Step 2: Generate Performance Footage with OmniHuman
Performance clips - where the artist appears on camera performing - make the music video feel personal and give it visual anchor.
Workflow:
- Select your source image (artist portrait or AI-generated)
- In Video Gen, select ByteDance OmniHuman
- Upload the portrait image
- Upload the track (or the relevant section) as audio
- Generate
OmniHuman produces clips where the person in the image performs in sync with the music - gestures align with the song's rhythm and energy, expression reflects the mood. Generate 4-6 performance clips from different sections of the track: intro, verse, chorus, bridge.
For longer performance clips: Kling AI Avatar API's Avatar 2.0 supports up to 5 minutes for singing content. Use it for sustained performance coverage across the full track.
See ByteDance OmniHuman: Complete Guide →
Step 3: Generate Supplemental Atmosphere Clips
Beyond the audio-synced backgrounds and performance footage, additional cinematic B-roll adds visual variety and gives the edit more to work with.
Generate these with Kling 3.0 or Veo 3.1 - standard video generation, no audio input needed:
[Specific visual element - close-up detail, environmental scene, abstract image],
cinematic quality, [lighting], [movement],
matching color palette: [your palette]
For a 3-minute music video, generate 12-18 total clips between Seedance (audio-synced), OmniHuman (performance), and Kling/Veo (B-roll). This gives you the raw material for a complete edit.
Step 4: Edit in CapCut
- Import your track as the audio track in CapCut
- Import all generated clips to the media library
- Place clips on timeline - alternate between performance clips and atmospheric clips. Performance for emotional moments, atmosphere for verses and instrumental sections.
- Sync cuts to the beat. Use CapCut's auto-beat markers or manual cuts at kick drum hits and structural transitions.
- Color grade. Apply a consistent color LUT across all clips for visual cohesion. CapCut has built-in LUTs; match to your track's aesthetic.
- Add transitions. Simple cuts work well for most music videos. Slow dissolves for emotional moments. Hard cuts on beats for energy.
- Export. 1080p for YouTube; 1080×1920 (9:16) for Reels and TikTok.
Bonus: Spotify Canvas
After your main edit:
- Generate a 5-second vertical clip (9:16) in Kling 3.0 or Veo 3.1
- Match the mood and palette of your album art exactly
- Export as MP4, no audio (Canvas is muted in Spotify)
- Upload to Spotify for Artists → your track → Canvas
Canvas displays behind your track in Spotify mobile. It is one of the highest-impression visual assets in a streaming release and takes 10 minutes to produce.
Full Workflow Summary
| Step | Tool | Output |
|---|---|---|
| Audio-synced background clips | Seedance 2.0 + @Audio | 5-8 atmospheric clips |
| Performance footage | OmniHuman or Kling Avatar | 4-6 performance clips |
| B-roll | Kling 3.0 or Veo 3.1 | 4-6 atmospheric clips |
| Assembly + sync | CapCut | Complete music video |
| Spotify Canvas | Kling 3.0 | 5-second looping vertical |
See AI Music Video Production: Complete Workflow →
Note
Seedance 2.0, OmniHuman, Kling 3.0, and 40+ other models on Cliprise. Complete music video production from one subscription. Try Cliprise Free →
Related Articles
- AI Music Video Production: Complete Workflow →
- AI Lyric Video: Seedance 2.0 + Audio Sync →
- AI Album Art: Midjourney, Flux 2, Ideogram →
- ByteDance OmniHuman: Complete Guide →
- AI Music Generator Guide →
- How to Create AI Avatar Video →
Models on Cliprise: